1.3. Create a Bootable USB
Creating a Bootable USB Using Rufus
You can use the provided ISO file to create a bootable USB stick. Once created, you can boot from the USB to run the Fix Tools.
Rufus is a free, reliable, and easy-to-use application for writing ISO images to USB drives. Follow the steps below to create your bootable USB using Rufus:
Requirements:
-
A USB stick with at least 1GB of space.
-
The FixTools ISO file (FixTools.iso).
-
A Windows PC.
Instructions:
1. Download Rufus:
2. Insert the USB Stick:
-
Plug your USB stick into an available USB port on your computer.
3. Open Rufus:
-
Launch Rufus. It should automatically detect your USB stick.
4. Select the ISO File:
-
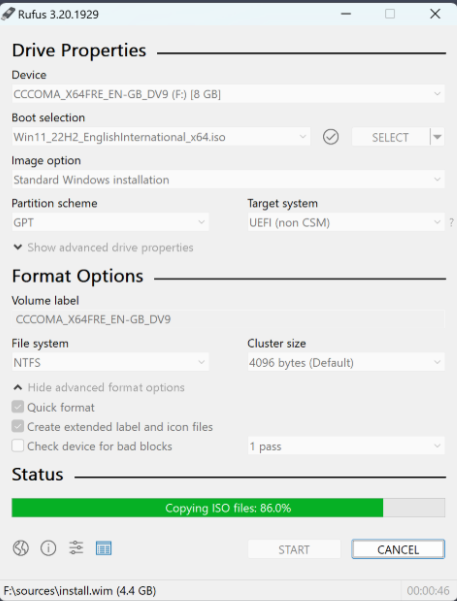
In Rufus, locate the section labeled “Boot selection” or “Create a bootable disk using…” and click “Select”.
-
Choose the FixTools.iso file.
5. Choose the Partition Scheme:
-
Determine your system’s BIOS mode:
-
UEFI BIOS with GPT partitions: Select “GPT partition scheme for UEFI”.
-
Legacy BIOS or BIOS with MBR partitions: Select “MBR partition scheme for BIOS or UEFI”.6. Start the Process:
-
Click “Start” to begin writing the ISO to the USB stick.
-
You may be prompted with a warning that all data on the USB stick will be erased. Confirm to proceed.
7. Boot from the USB:
-
Once Rufus finishes, safely eject the USB.
-
Restart your computer and boot from the USB to run the Fix Tools.